Lockdown meringues - get the pinny back out
Ready for more lockdown baking?
As we head back into another lockdown, there’s a song that keeps popping into my head, much the same as it did last lockdown that being REM’s ‘It’s the end of the world as we know it’. Of course it’s not, but it can certainly feel that way at times. And as we go into winter, even more so. The relentlessness, the dark nights, the rain…
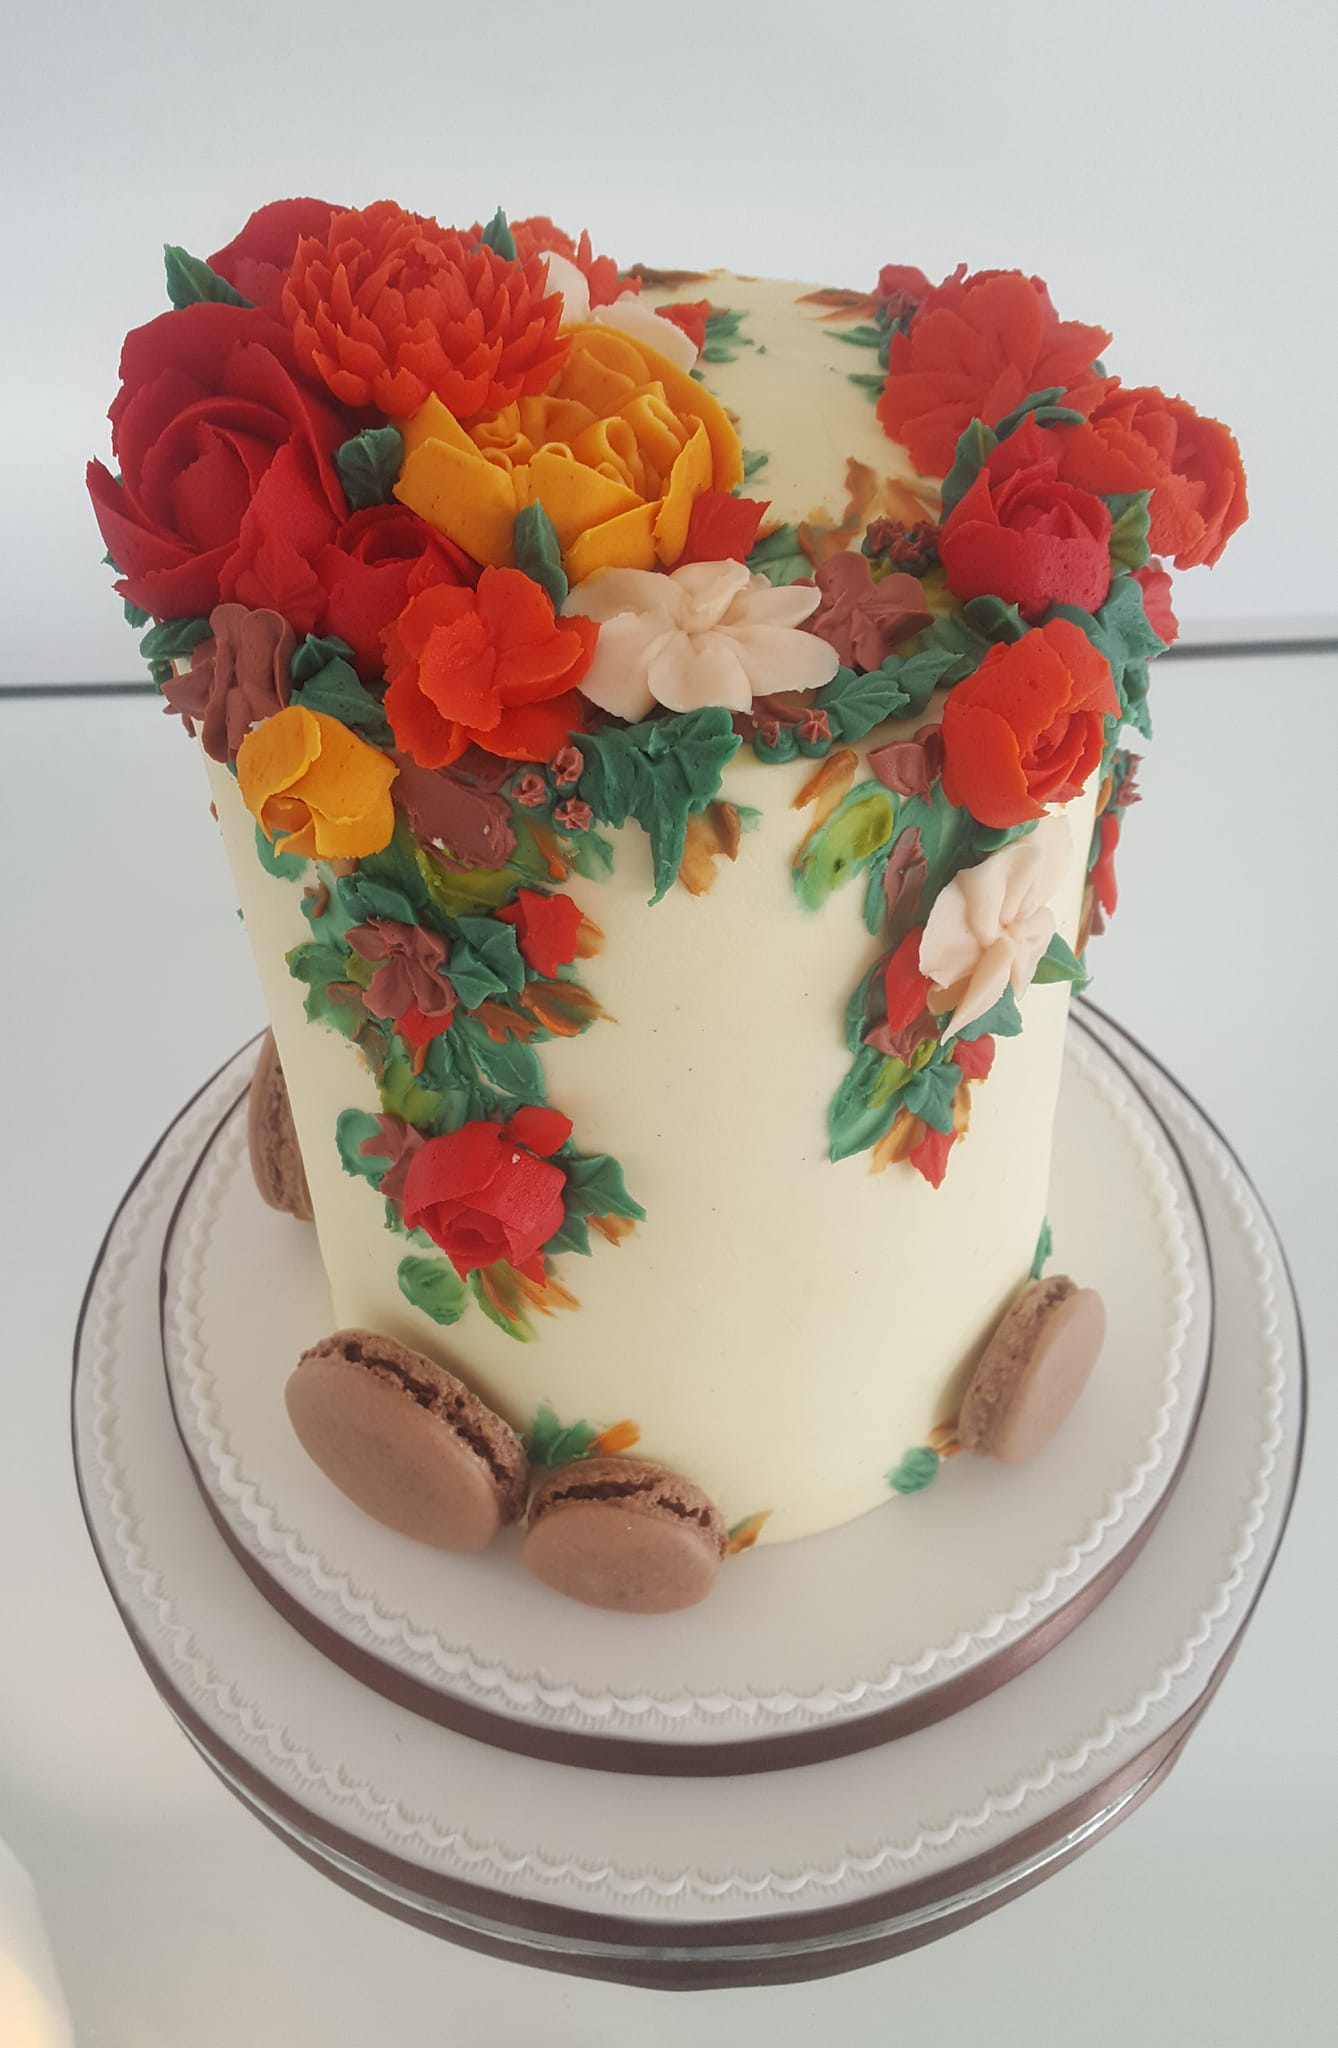
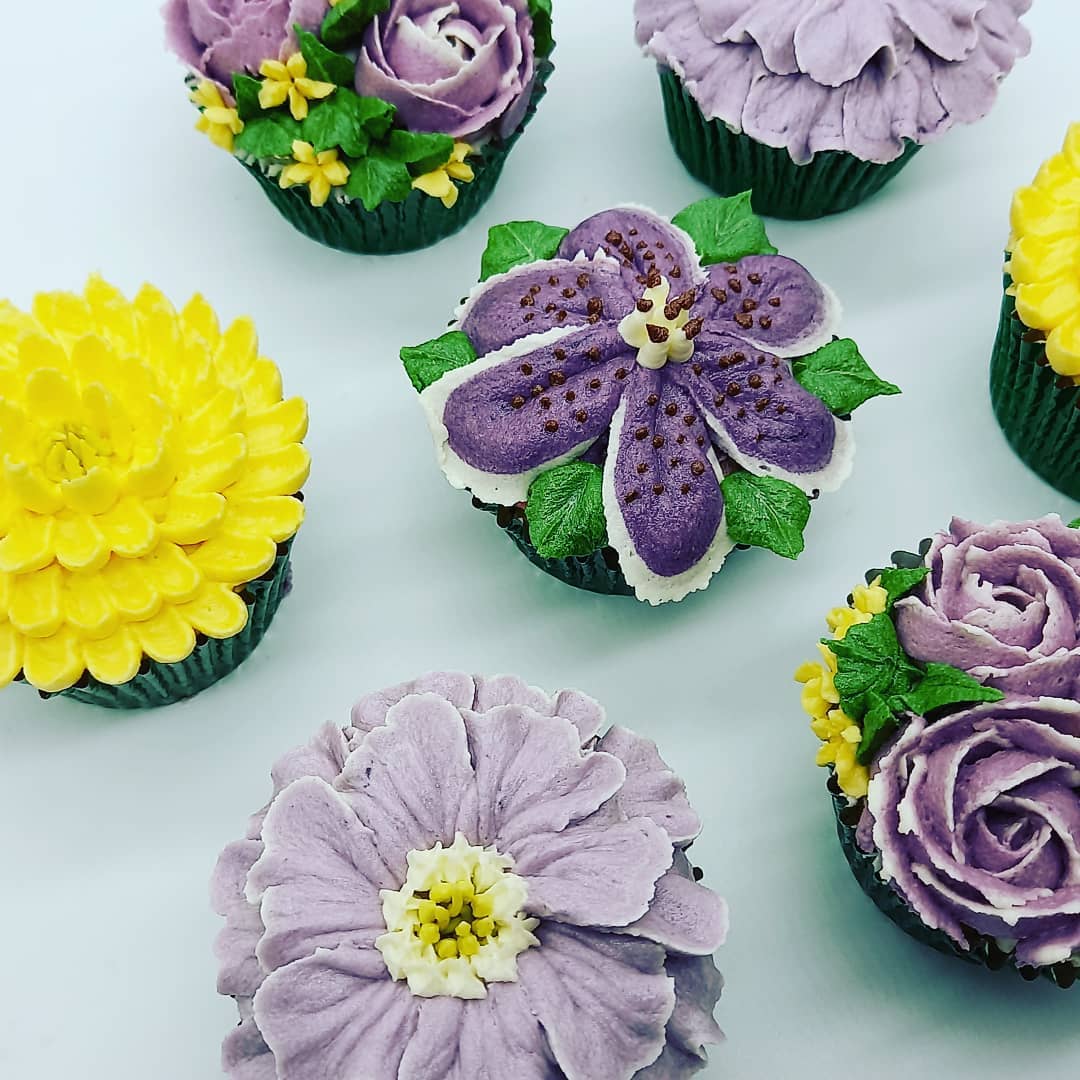
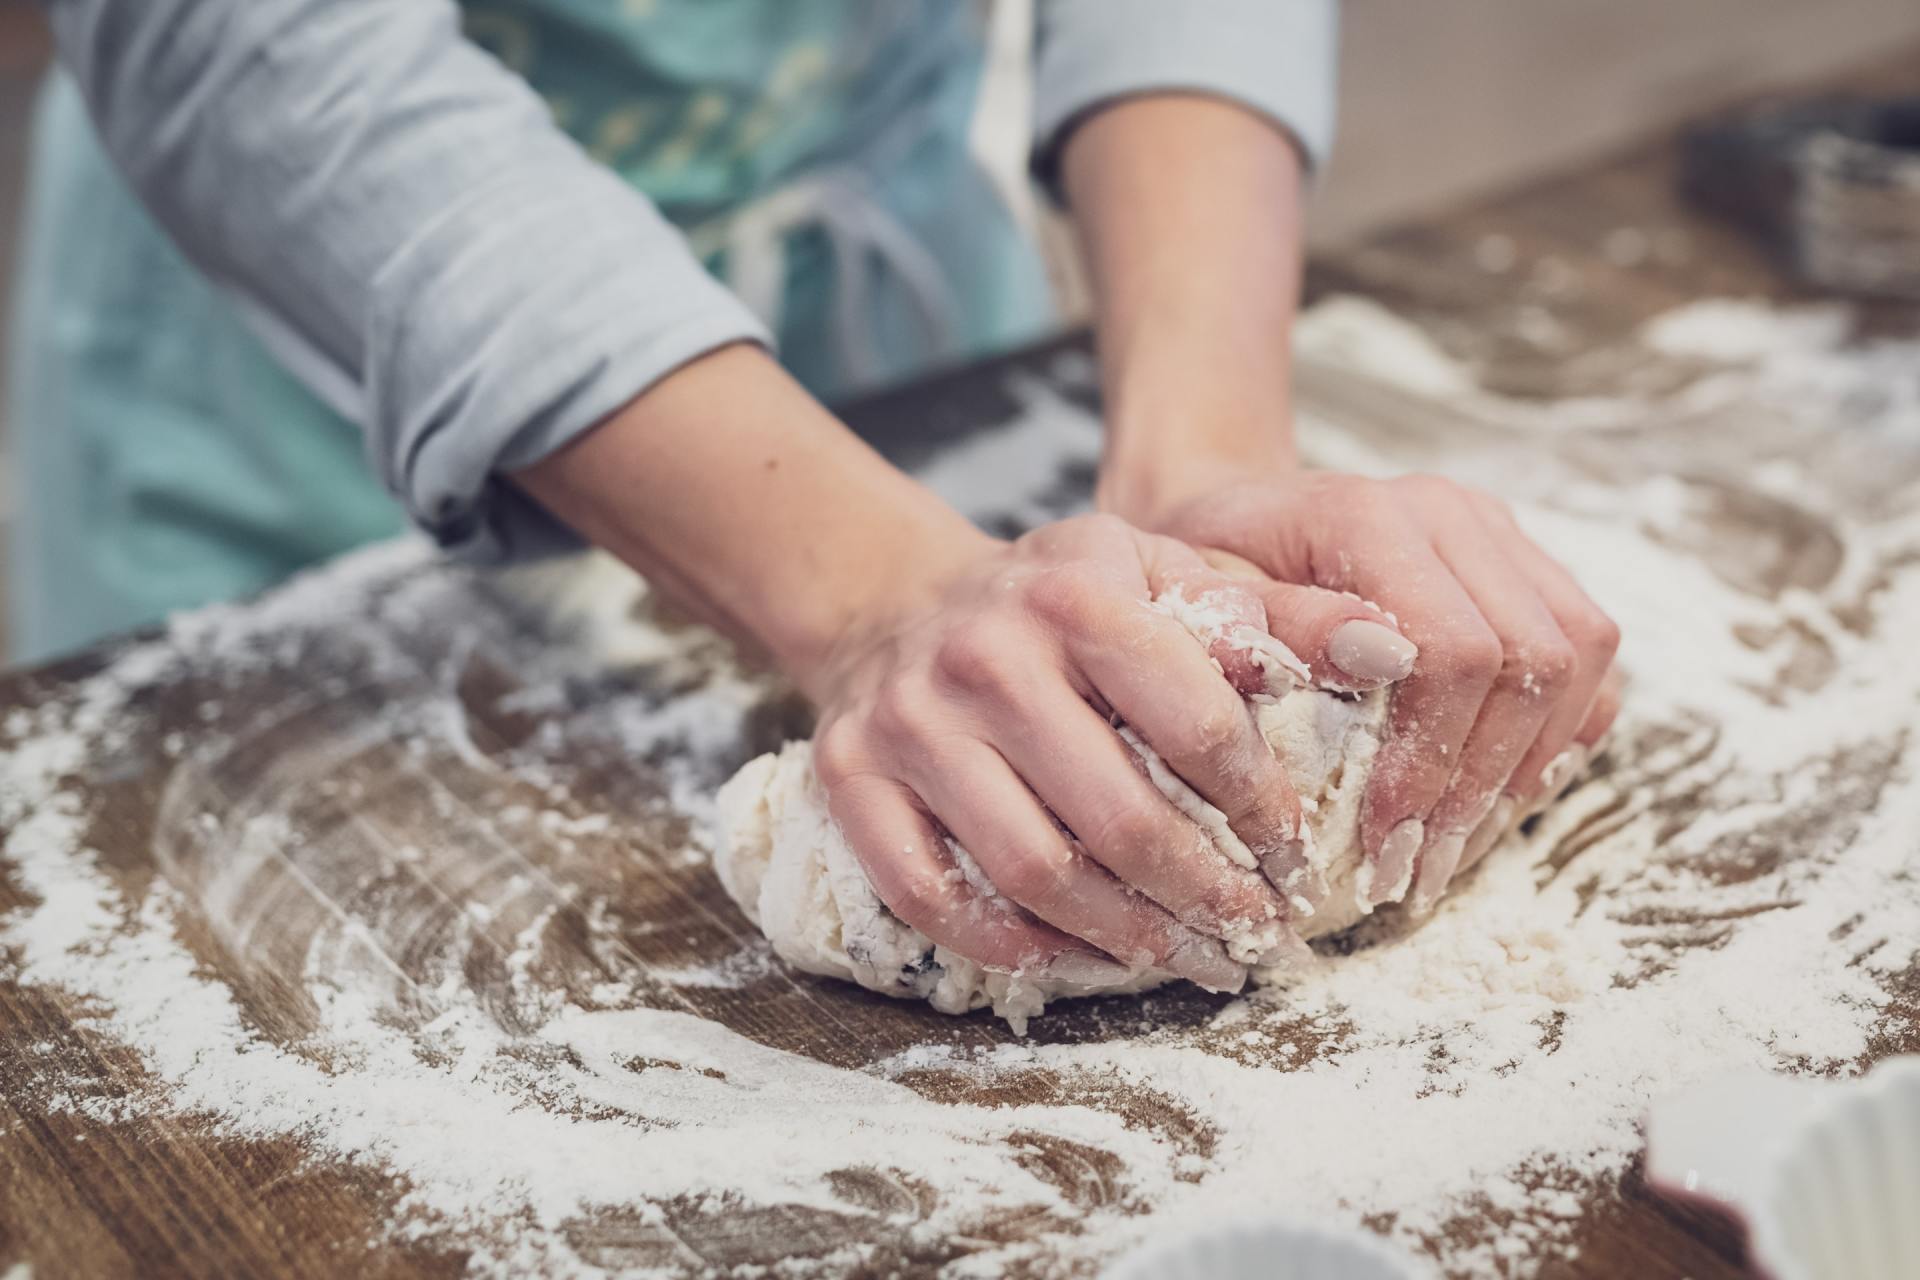
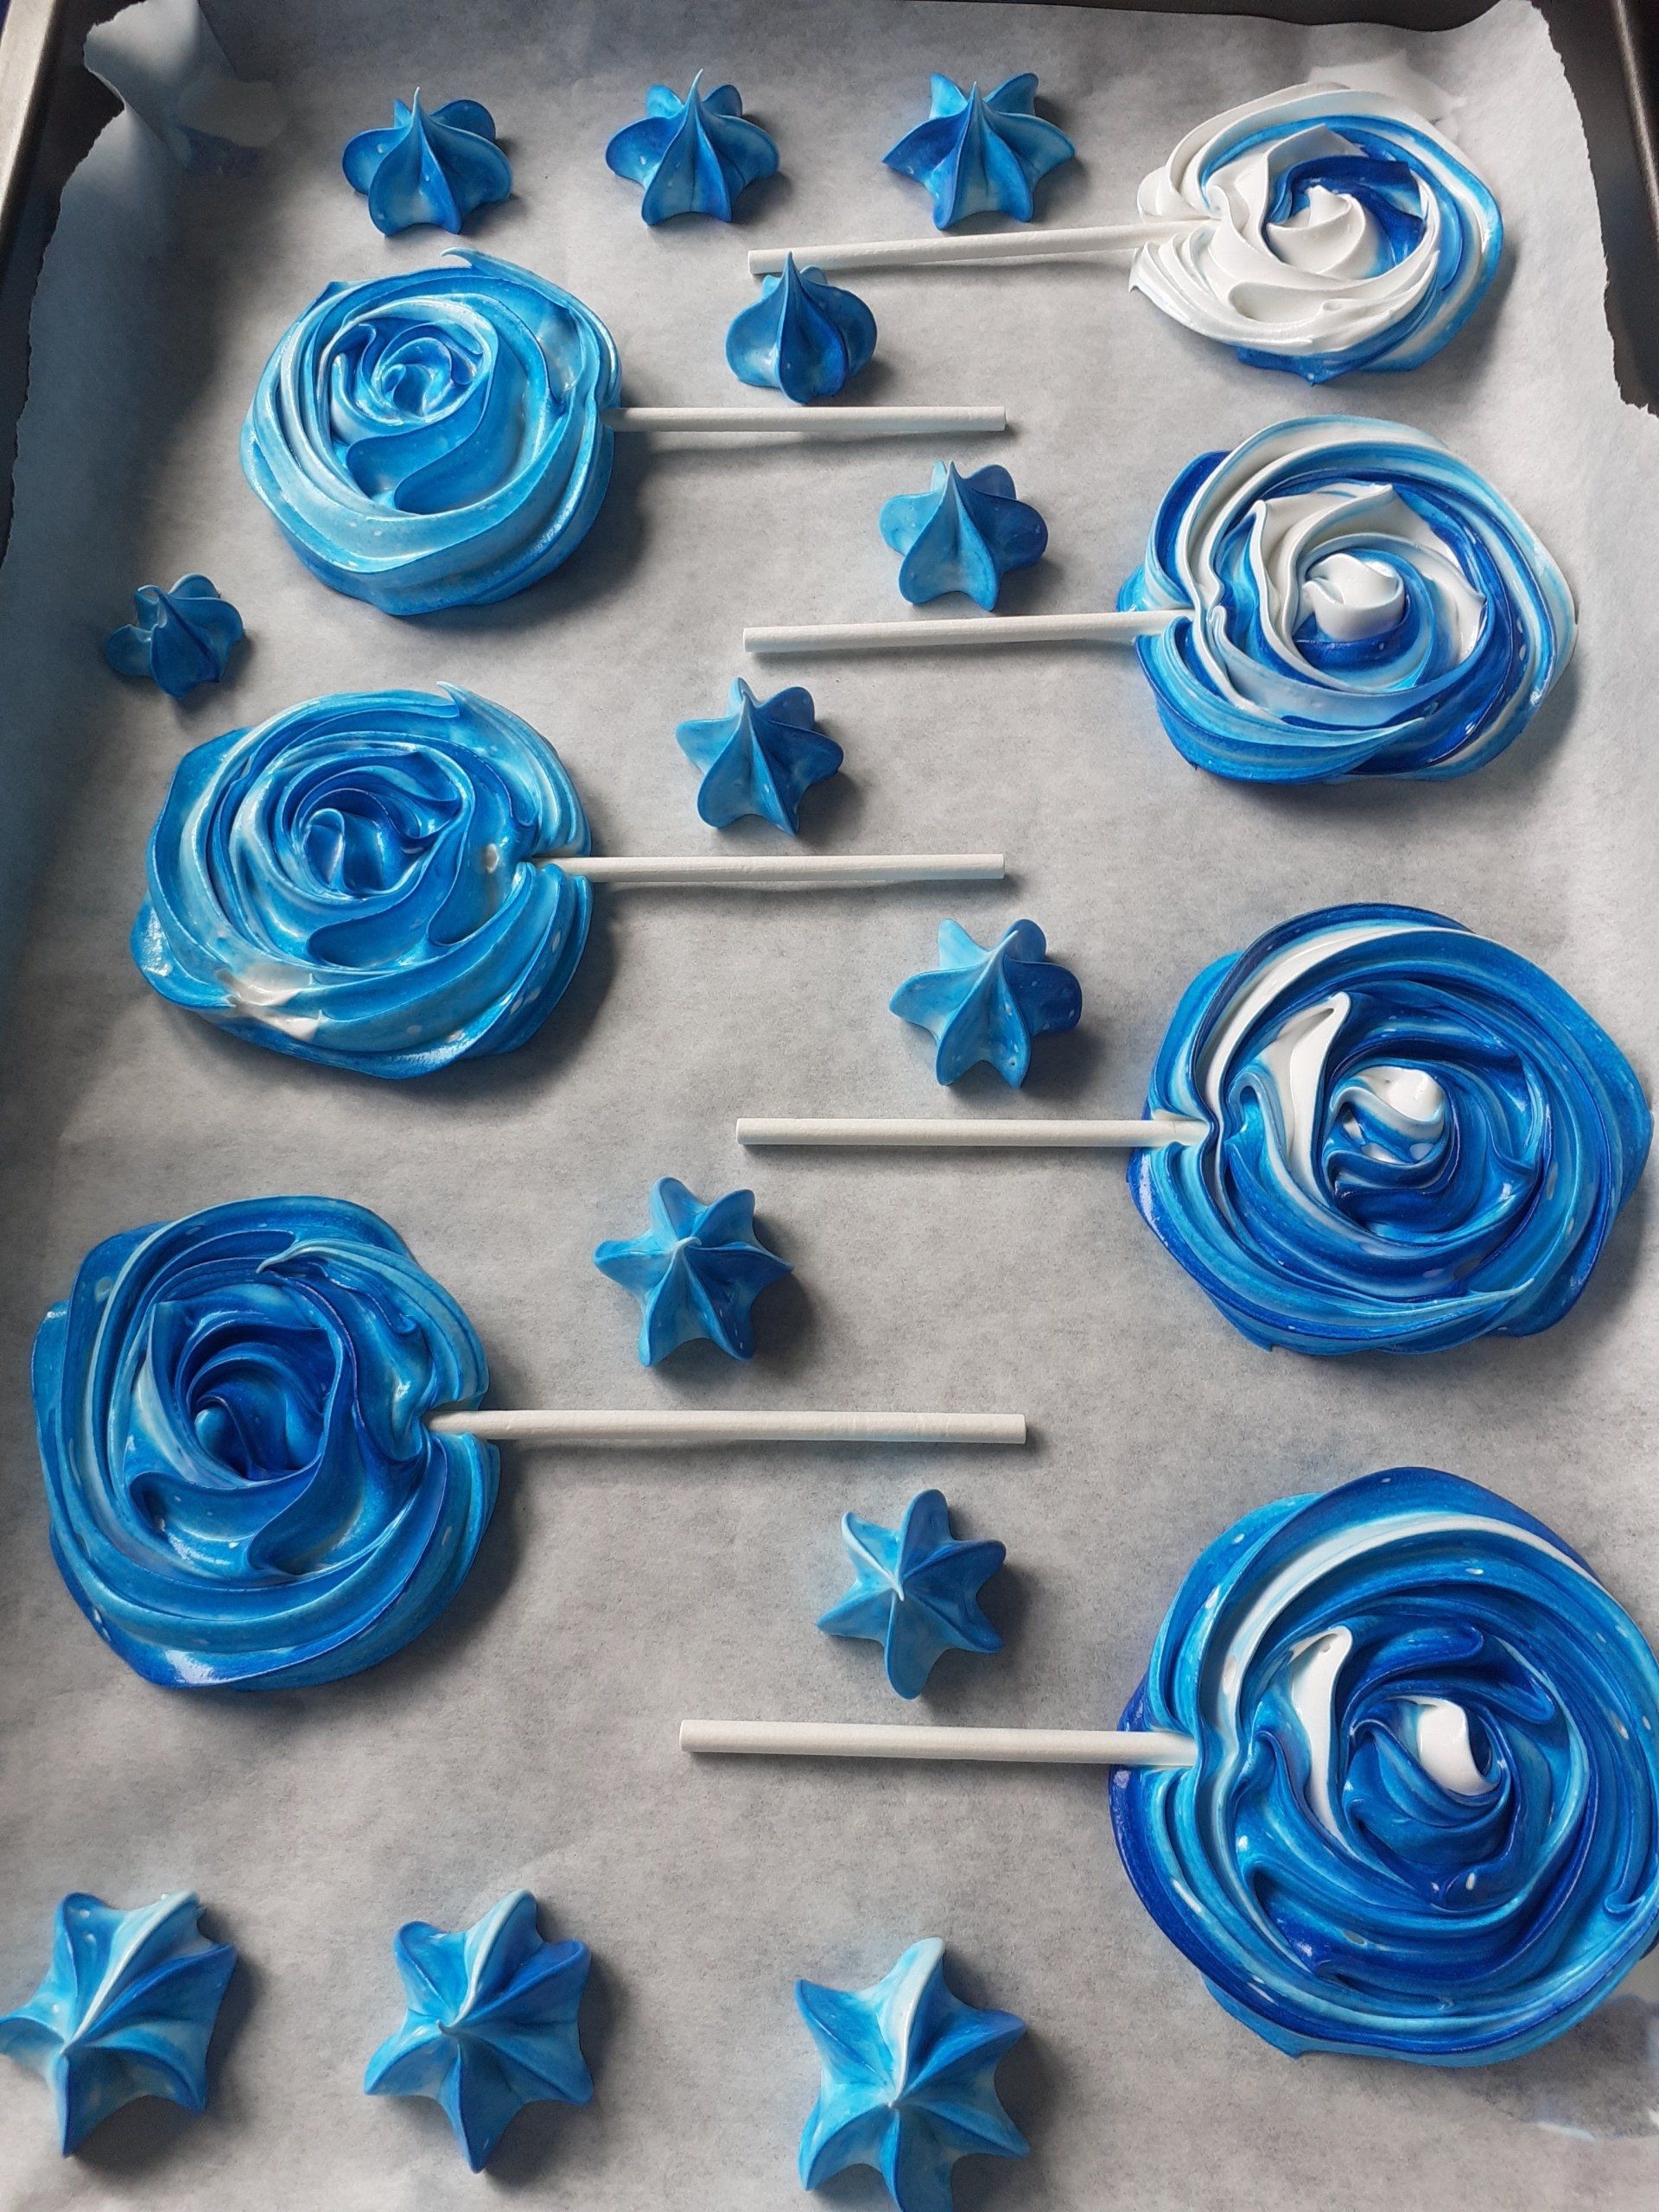
But I’m sure you don’t need reminding of this ! No doubt with the fresh lockdown about start we may all be picking up our aprons again and baking at home. As i’ve said before, baking is such a mindful activity and it can really help to take us away from the stresses of everyday life and the worries and drudgery of what’s going on around us. For that reason I wanted to share a simple meringue recipe. It’s really easy and you can have such fun experimenting with colours, flavours and designs. Not to mention they taste lovely!
"
... a simple meringue recipe. It's really easy and you can have such fun...
"
If you’re feeling festive already, and why not it’s 3rd November so it’s practically Christmas anyway, make up some meringue snowmen with some cute chocolate buttons for eyes. Kids will love it and that’s about 30 minutes of entertainment sorted.
The recipe!
What you'll need :-
The ingredients
180g caster sugar
3 egg whites (from medium free range eggs)
1/4 tsp of cream of tartar
Flavour extracts (optional)
Food colouring (optional, the gel or paste food colours are the best for vibrant colours. Liquid food colours are, erm too liquid, and will affect the meringue consistency and will fade when cooking).
Piping bags
Greaseproof paper or a silicon baking mat
Piping nozzles (or alternatively cut a small hole in the end of a piping bag)
Mixing bowl
Electric whisk
The method
1. Pre-heat the oven to 110c/230f/gas mark 1
2. Start by making sure all your equipment is squeaky clean. The slightest bit of dirt or grease will prevent the mixture from getting to stiff peaks.
3. Separate the egg whites into a mixing bowl if you are using a handheld whisk or into the bowl of stand mixer.
4. Slowly start to whisk the egg whites on a low to medium speed initially.
5. Once the egg whites start to foam, add ¼ tsp of the cream of tartar and continue to whisk until the mixture has reached soft peak stage (the mixture will form peaks when lifted with a spoon but fall back into themselves).
6. At this stage, start to slowly add the sugar one tbsp at a time. Continue whisking all the time at a medium to high speed.
7. Once all the sugar has been added you should start to see the mixture thickening and looking glossy. This is what we want. Continue to whisk on high for around another five to seven minutes.
8. The mixture should now be at stiff peak stage. A good way to check this is to turn the mixing bowl upside down. If all the mixture stays in the bowl, it’s at stiff peak stage.
9. Test a little of the mixture by rubbing a small amount between your thumb and forefinger. If it’s still a little grainy, whisk for a bit longer until the mixture is smooth.
10. Add flavour extract and colours if using. I usually start by adding ½ tsp of flavour extracts and then adjust upwards if needed.
11. Spoon the mixture into a piping bag with a nozzle or cut the end of the piping bag and have fun piping shapes, swirls and little meringue drops onto a baking sheet covered with greaseproof paper or onto a silicon baking mat!
12. Pop into the oven for around 40 minutes. The actual time will depend on the size of the meringue shapes but a good way to test if they are done is to gently pull one of the shapes off from the baking sheets. If they come away easily, they are done. If they are still stuck, leave them a little longer !
13. Enjoy !
14. Keep them in an airtight container once cool and they will be good for about two weeks 😊
If you tried the recipe, comment and show us your meringues!
Mel x

Share This